Decorating Split Fronts
Need help? Call us!
1-800-622-2280
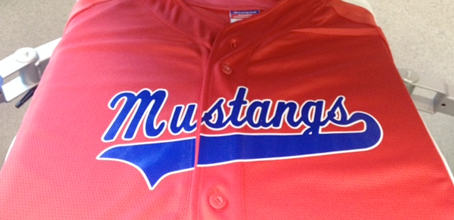
Screen printed transfers from Transfer Express® are printed on release paper with gridlines that make heat-application to a split front jersey easy. Follow this step-by-step guide to learn how to use these grid lines when decorating split fronts.
Pre-Order Tips:
- For best results, use jerseys with buttons spaced 6" apart.
- When ordering screen printed transfers, make sure the center of the design is sized to fit the jersey space that falls between two buttons.
Application
Step 1
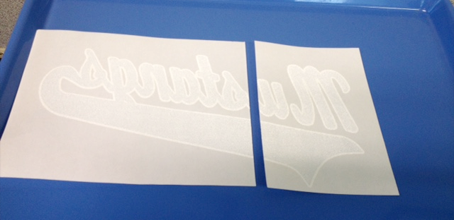
Cut the transfer/design in two. Usually, you will need to cut the design just left of the center so the cut matches the split front of the jersey.
Tip: Avoid cutting through a letter.
Step 2
Keep the jersey fully buttoned and place it on the bottom platen of your heat press. Adjust the pressure setting accordingly to compensate for buttons. Pre-heat the jersey.
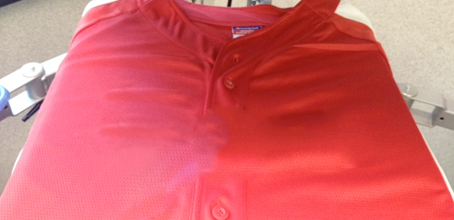
Step 3
Use the gridlines on the transfer to position the two halves of the transfer on the jersey. Then heat press the transfer onto the jersey.
Tip: Be sure to line up the edge of the transfer with the split.
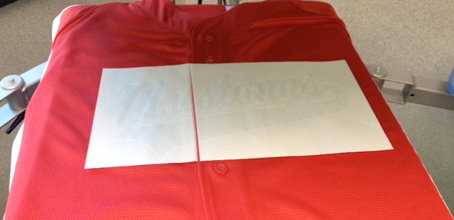
Step 4
Peel the release paper from the right side of the jersey only.
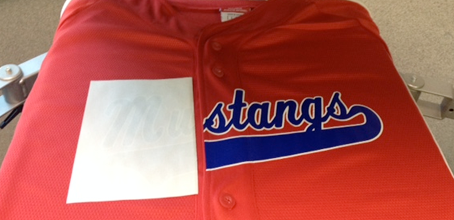
Step 5
Unbutton the jersey and open it, leaving only the left half on the platen.
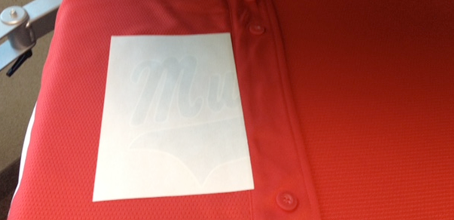
Step 6
Heat press the jersey again. Then peel the release paper from the left half of the jersey.
